February 13th, 2026
Bouncy, Voluminous Blowouts at Home: The Clip-In Upgrade

Bouncy, Voluminous Blowouts at Home: The Clip-In Upgrade

This is the trick that the stylists do not necessarily mention, and it is that the best blowouts begin with more hair.
The enhancement that takes a mediocre blowout at home and makes it a full, bouncy, long-lasting hairstyle is clip-in extensions, which do not require additional heat damage or hours of work!
In this blog post we will be going over the technical how-to of the creation of a professional-grade blowout at home while using the secret weapon: clip-in extensions, and the products and methods that will make it all come together.

Why Clip-Ins Make the World of a Difference in a Blowout
Extensions just clip in instantly to:
- Fill in the intermedials and extremities.
- Assistance squeeze curl and shape.
- Make it more polished and smooth.
- Minimize the necessity of over teasing or heating.
Imagine them as the foundation that allows your blowout to build off of.
Step-by-Step: How to Get a Bouncy Blowout with Clip-Ins
Blowouts make or break during the prep stage.
What to do:
- Shower using a light and volumizing conditioner and shampoo.
- Do not put heavy masks or oils on prior to styling.
- Gently towel-dry, and get out the tangles.
The secret here is to leave hair about 80-90% dry first and then start blow-drying it to add volume.
Step 2: Strategic Application of Volumizing Products.
Being subtle is better, however positioning is everything.
Use:
- Volumizing mousse or root lift spray on the roots.
- Light-weight blow-dry cream at length on up to ends.
- Heat protectant throughout
None of the heavy products should be applied where the clip-ins will be applied.
Step 3: Rough Dry First (This Is Key)
Toss your head upside down and use your fingers to comb through while blow drying until you have hair that is slightly dry.
Why it works:
- Produces natural lift on roots.
- Speeds up styling time
- Stops flat hair on the scalp.

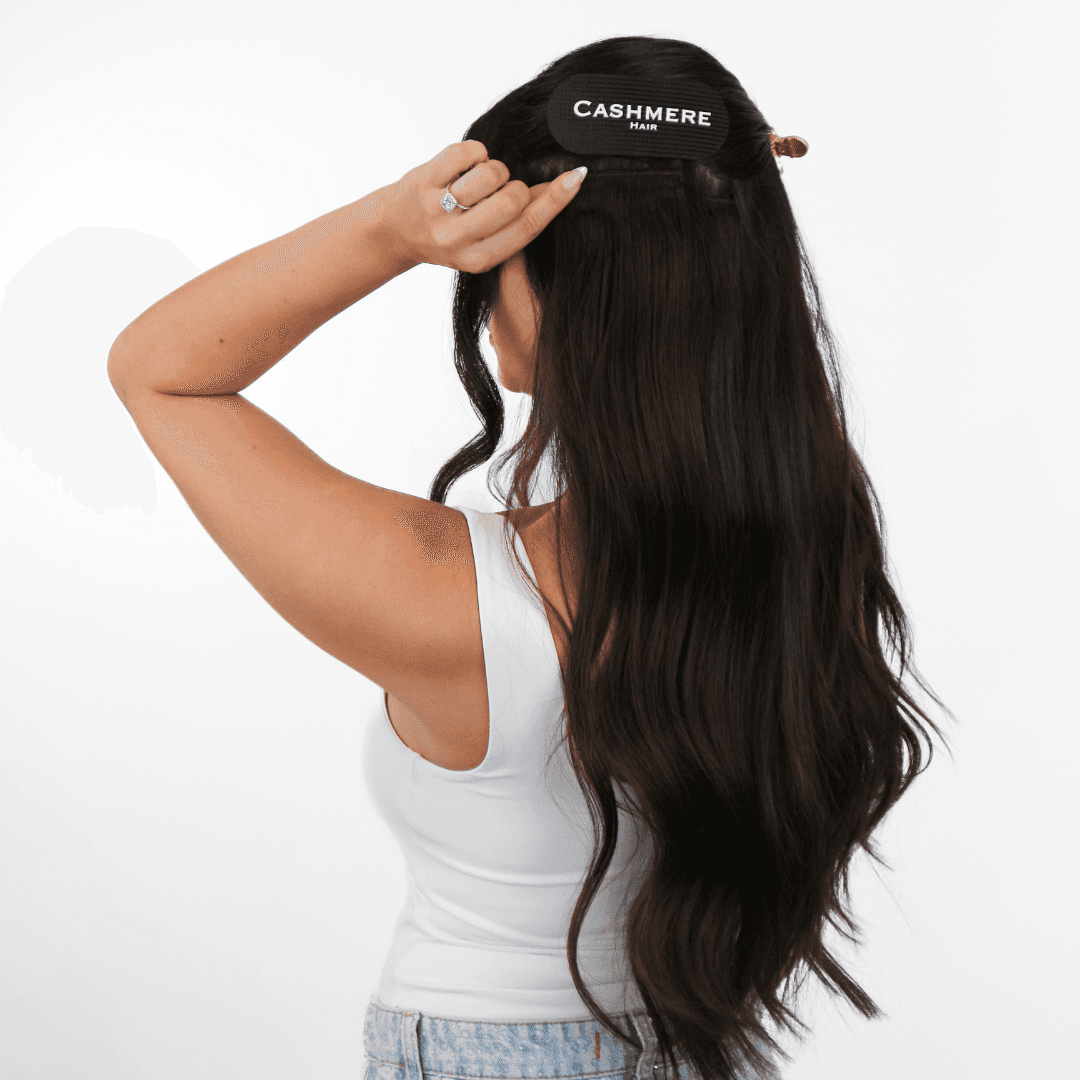
Step 4: Section + Install Your Clip-Ins.
After about 90 percent of the hair has dried, then the instant upgrade is ready to install.
Application of clip-ins:
- Make a horizontal part at the nape of your neck.
- Clip in the wefts upwards, working your way upwards the head.
- Pay attention to adding fullness in the back and sides.
- Leave out a sufficient amount of natural hair at the top to fullly cover the extensions.
In the case of blowouts, single or smooth one-piece volumizer extensions are particularly effective for a smooth finish.
Step 5: Blow Dry in Sections to Achieve Maximum Volume.
Now comes the magic.
What you'll need:
- Round brush (medium or large barrel)
- On your blow dryer, add the concentrator nozzle.
Technique tips:
- Dry each section downwards, following the brush.
- The slightest over-directing of the sections away from the face to add lift.
- Focus heat on the roods then slide through the ends.
The extensions assist the hair to have tension in it, and that is precisely the factor that makes the hair move at the salon level. Be careful not to tug too much on your hair with the extensions, this can cause damage to your scalp. Hold your hair at the root as you pull down to avoid excessive strain.
Step 6: Lock in the Shape
Once each section is dry:
- Roll each section you bow dried into a hair roller and pin up
- Continue until all the parts are finished.
- Hit it with cool air
- Set with hairspray and remove hair rollers

The Conclusion: More Hair = Better Blowouts.
- Fuller hair
- Longer-lasting volume
- That new-out-of-the-salon confidence.