October 3rd, 2025
How to Fix a Broken Clip on Your Hair Extensions at Home

How to Fix a Broken Clip on Your Hair Extensions at Home

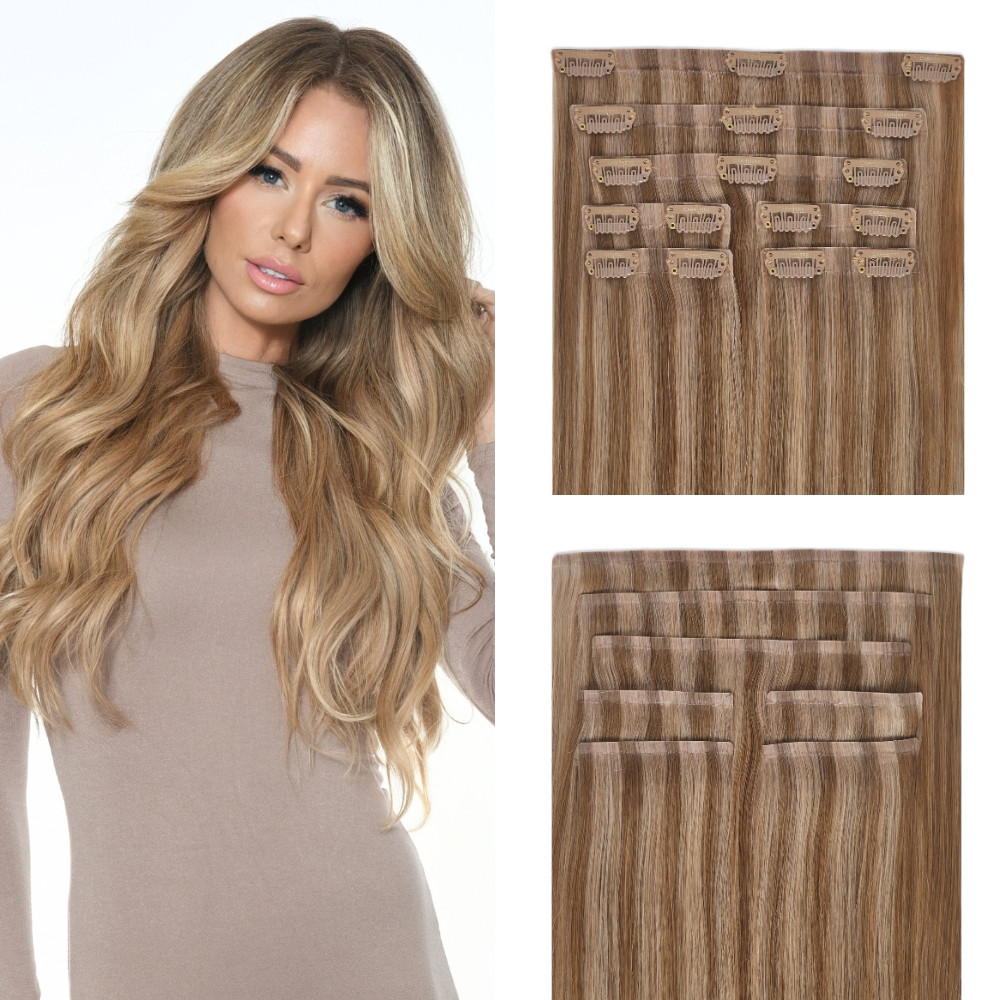
A damaged clip does not necessarily mean the end of your favorite set of luxury clip-in extensions! You can easily replace a broken clip at home, using only a few basic tools. All you'll need is:
A needle
Scissors
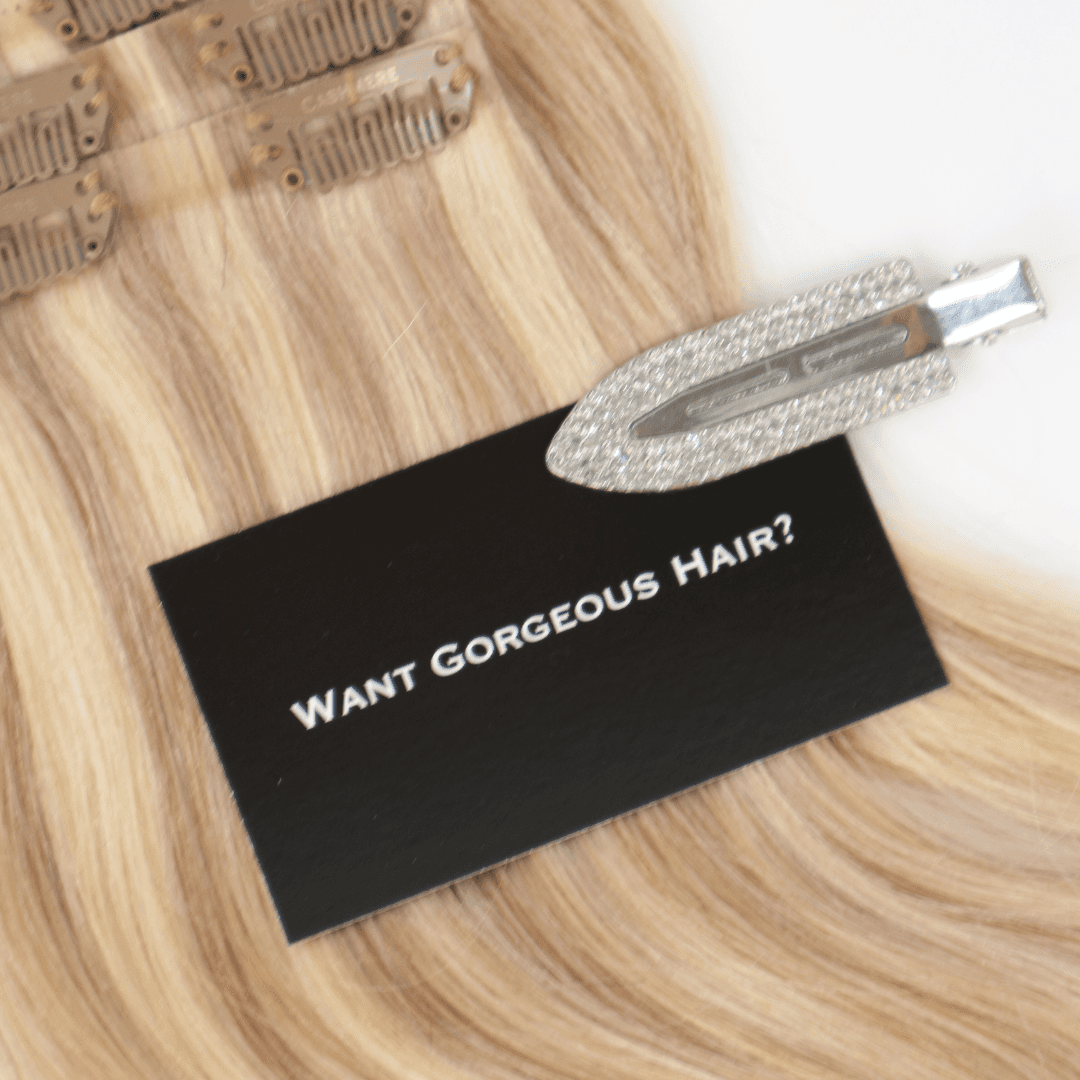
Replacement clips (Cashmere Hair extensions always come with extras!)
Thread that closely matches your hair color
You can follow this guide or you can watch the video above for a step-by-step breakdown of how to get your extensions back in their perfect shape.

Step 1: Remove the Damaged Clip
Begin by gently cutting the broken clip. Snip the middle thread that holds the clip to the weft with your scissors. Do not forget there are little stitches on both sides of it, cut those through too. It is important not to cut the extensions themselves so that the weft unravels. After the clip is cut off, remove any remaining thread to get a clean working space.

Step 2: Attach the New Clip
To start your first stitch, you will be threading the needle underneath the weft and then up through the middle of the clip. Pull the thread tight without catching any of the hairs. Fasten the thread by passing the needle over it and creating a small knot. Then proceed to the top hole on the other side of the clip.
To strengthen the middle section, pass the thread through a few of the existing stitches in the back and then through the hole in the center. In sewing down a second time, attempt to pass around the hair and over the old stitching, in order that the clip may be firmly in place.

Step 3: Secure and Finish
Keep on threading your needle through the rest of the holes on the clip, concealing your stitches by running them underneath the weft where you can. After sewing down both ends of the clip, tie the thread in a knot. To make the knot stronger wrap the thread through the loop twice on your final knot. The rest of the thread can be trimmed off with scissors and you are ready to go!
That is all, now you have fixed your extension clip! With this easy homemade repair, your extensions will be as good as new and be worn once again.